


软件

产品


1.导入pom依赖
|
1
2
3
4
5
6
7
8
9
10
11
12
13
14
15
16
17
18
19
20
21
22
23
24
25
26
27
28
29
30
|
<!-- mybatis-->
<dependency>
<groupId>org.mybatis.spring.boot</groupId>
<artifactId>mybatis-spring-boot-starter</artifactId>
<version>1.3.1</version>
</dependency>
<!--mysql依赖-->
<dependency>
<groupId>mysql</groupId>
<artifactId>mysql-connector-java</artifactId>
</dependency>
<dependency>
<groupId>org.apache.commons</groupId>
<artifactId>commons-dbcp2</artifactId>
<version>2.5.0</version>
</dependency>
<!-- 引入fluent-mybatis 运行依赖包, scope为compile -->
<dependency>
<groupId>com.github.atool</groupId>
<artifactId>fluent-mybatis</artifactId>
<version>1.6.8</version>
</dependency>
<!-- 引入fluent-mybatis-processor, scope设置为provider 编译需要,运行时不需要 -->
<dependency>
<groupId>com.github.atool</groupId>
<artifactId>fluent-mybatis-processor</artifactId>
<version>1.6.8</version>
</dependency>
|
2.配置数据库连接
|
1
2
3
|
spring.datasource.url= jdbc:mysql://localhost:3306/test?useUnicode=true&characterEncoding=UTF-8&serverTimezone=UTC
spring.datasource.username=root
spring.datasource.password=root
|
3.创建数据库表
|
1
2
3
4
5
6
|
CREATE TABLE `student` (
`id` bigint(20) unsigned NOT NULL AUTO_INCREMENT,
`name` varchar(20) DEFAULT NULL,
`age` int(11) DEFAULT NULL,
PRIMARY KEY (`id`)
) ENGINE=InnoDB DEFAULT CHARSET=utf8 COMMENT='学生表';
|
4.创建Student实体类,
①实体类添加 @FluentMybatis
②实现 IEntity 接口
|
1
2
3
4
5
6
7
8
|
@FluentMybatis
@Data
@NoArgsConstructor
public class Student implements IEntity {
private Long id;
private String name;
private Integer age;
}
|
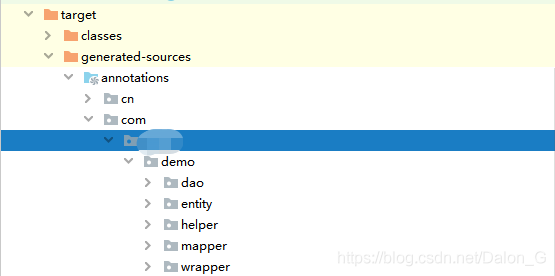
5.重新构建项目
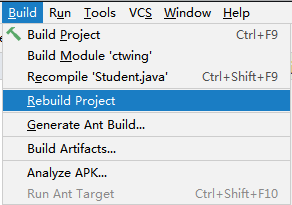
构建完成后,target目录下就会新建几个文件夹
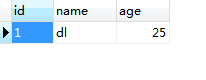
6. 测试
|
1
2
3
4
5
6
7
8
9
|
@Autowired
private StudentMapper studentMapper; // target目录下
@RequestMapping("insert")
public void insert(){
Student student = new Student();
student.setName("dl");
student.setAge(25);
studentMapper.insert(student);
}
|
数据库已插入
************************************
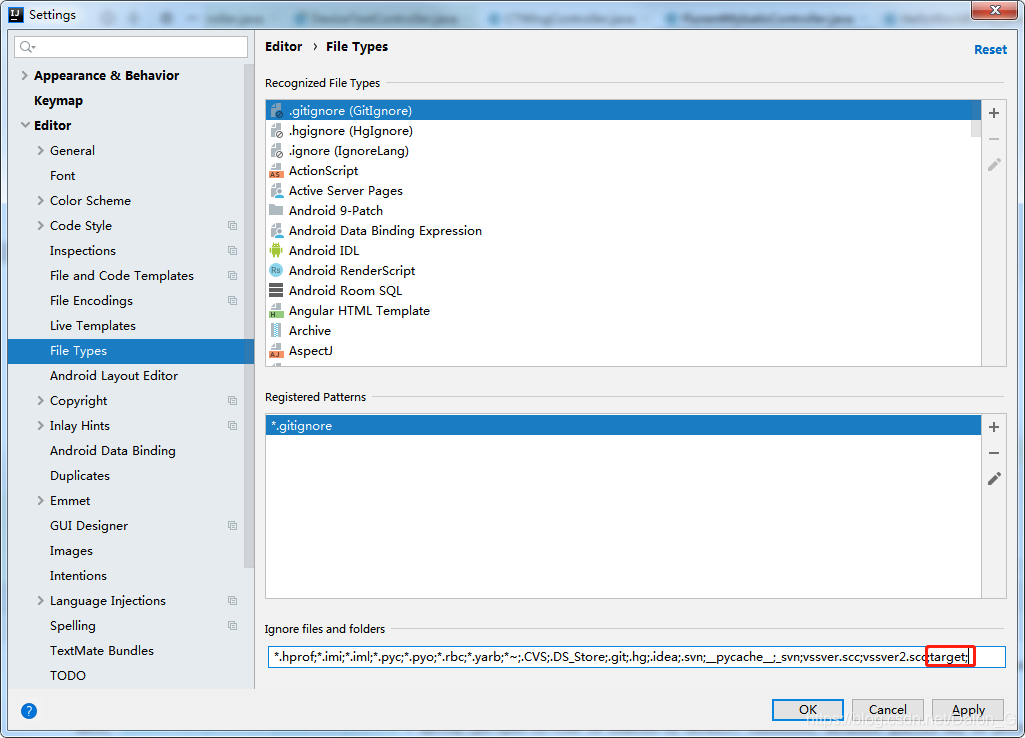
如果出现Mapper文件找不到路径的异常,很可能是在之前idea中将target文件隐藏了,只需
File --> setting --> File Types 将忽视的target文件删掉就可以了
到此这篇关于springboot 整合fluent mybatis的过程,看这篇够了的文章就介绍到这了,更多相关springboot 整合fluent mybatis内容请搜索脚本之家以前的文章或继续浏览下面的相关文章希望大家以后多多支持脚本之家!
武汉格发信息技术有限公司,格发许可优化管理系统可以帮你评估贵公司软件许可的真实需求,再低成本合规性管理软件许可,帮助贵司提高软件投资回报率,为软件采购、使用提供科学决策依据。支持的软件有: CAD,CAE,PDM,PLM,Catia,Ugnx, AutoCAD, Pro/E, Solidworks 等。
 技术文档
技术文档
 推荐好文
推荐好文


 155-2731-8020


.png)

