


软件

产品


大家好,我是虎哥,最近完成了自己设计的第一个Xavier NX 的载板设计和打样,虽然还有一些小的不完善的地方,但是可以正常使用,这里记录和分享一下我自己设计的载板上如何实现系统迁移。
我自己使用SDK Manager 安装了所有的支持库后,16G的板载EMMC就耗光了,所以我必须将系统转移到NVME存储上。
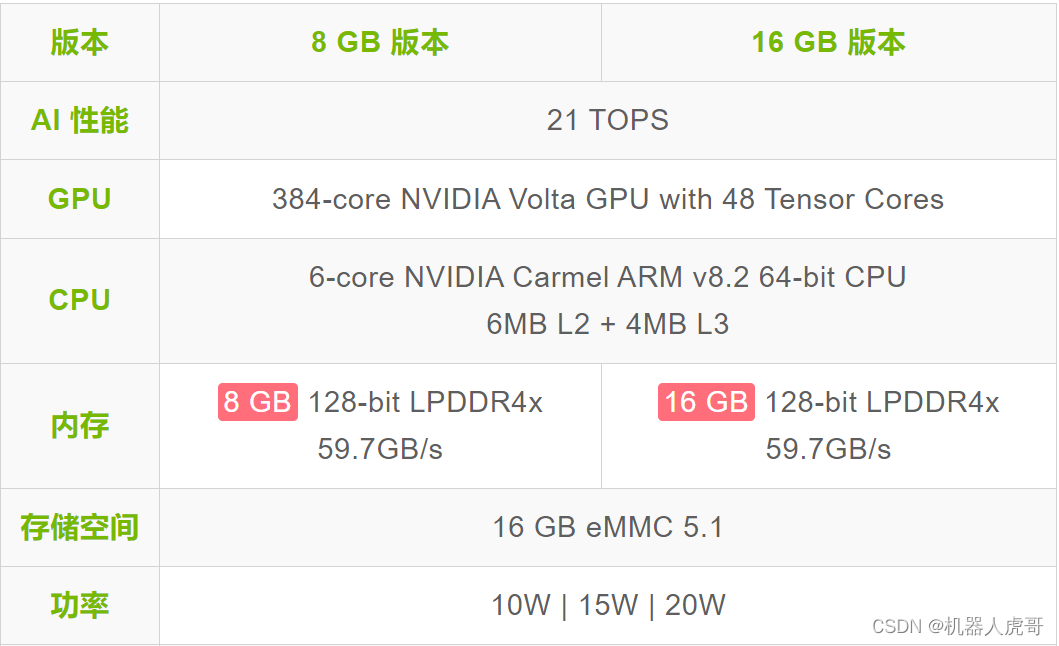
NVIDIA® Jetson Xavier™ NX通过外形小巧的模组系统(SOM)将超级计算机的性能带到了边缘端。 高达21 TOPS的加速计算能力可并行运行现代神经网络并处理来自多个高分辨率 传感器 的数据,这是完整AI系统的要求。
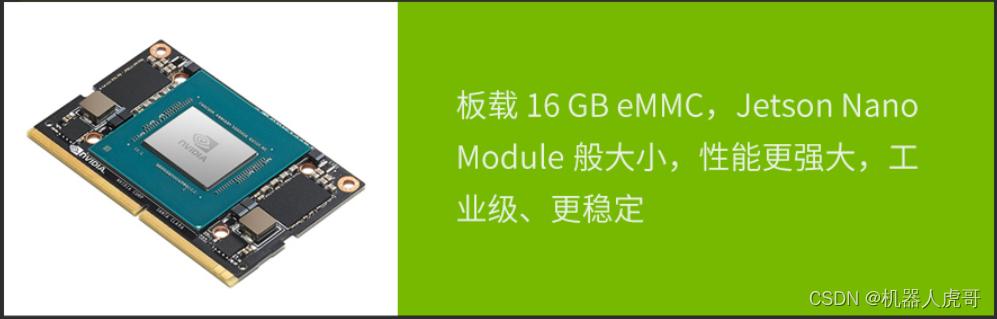
Jetson Xavier NX 只有 70 毫米 x 45 毫米,可以将 NVIDIA Xavier SoC 的强大性能封装到 Jetson Nano™ 大小的模组中。这个外形小巧的模组将出色性能和功耗优势与一组丰富的 IO(从高速 CSI 和 PCIe 到低速 I2C 和 GPIO)相结合。利用小巧的外形、传感器众多的接口和出色性能,为您的所有嵌入式 AI 和边缘系统带来新功能。

Jetson Xavier NX 适用于无人机、便携式医疗设备、小型商业机器人、智能摄像头、高分辨率传感器、自动光学检测、智能工厂和其他 IoT 嵌入式系统等高性能 AI 系统。

Jetson Xavier NX 可提供高达 21 TOPS 的性能,是嵌入式和边缘系统中高性能计算和 AI的理想之选。您可以获得384 个 NVIDIA CUDA® Cores、48 个 Tensor Cores、6 块 Carmel ARM CPU 和两个 NVIDIA 深度学习 加速器 (NVDLA) 引擎所带来的性能。再加上超过 59.7GB/s 的显存带宽、视频编码和解码等特性,使得 Jetson Xavier NX 成为能够并行运行多个现代神经网络,并同时处理来自多个传感器的高分辨率数据的首选平台。
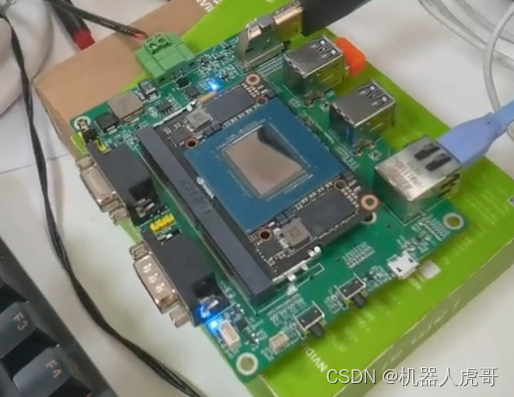
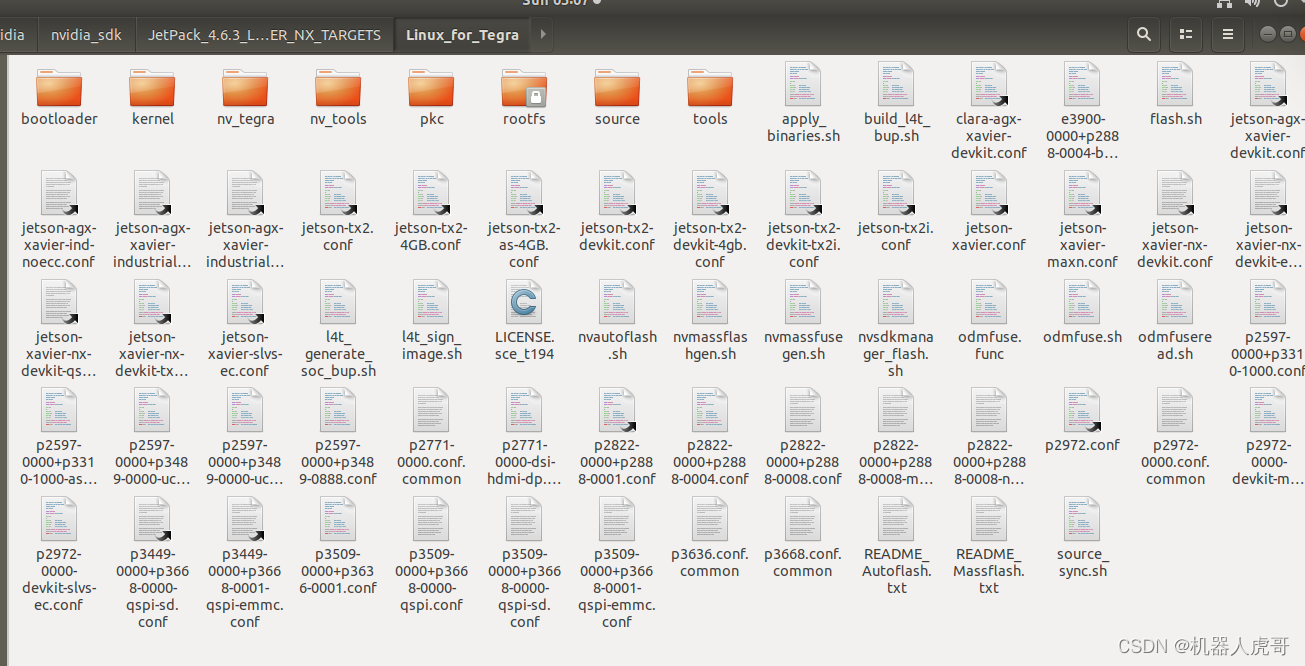
N100 载板是我自己设计的,完全兼容官方系统的硬件系统。主要配置的资源有:DB9接口引出了RS232接口,DB9接口引出了CAN接口,千兆网口1路,使用HUB芯片,扩展了4路USB3.0机接口,以及我们常用的HDMI接口和NVME存储接口,和M.2的WIFI网卡接口。
系统我烧写了JetPack 4.6.3
nvidia@nvidia-desktop:~$ sudo lsb_release -a[sudo] password for nvidia: No LSB modules are available.Distributor Ihttps://www.gofarlic.com UbuntuDescription: Ubuntu 18.04.6 LTSRelease: 18.04Codename: bionichead -n 1 /etc/nv_tegra_release# R32 (release), REVISION: 7.3, GCIhttps://www.gofarlic.com 31982016, BOARhttps://www.gofarlic.com t186ref, EABI: aarch64, DATE: Tue Nov 22 17:32:54 UTC 2022说明使用R32.7.3的系统版本
NVMe SSD 硬盘仅作为系统盘(rootfs 和用户区),系统的启动引导依然是通过 SD 卡或 EMMC,比如升级设备树 dtb 还是在 SD 卡或 EMMC 中。
#新存储接入系统后,查看存储情况$ sudo fdisk -l这里我们主要关注NVMe 存储。
看到类似信息,说明这块盘还没有格式分区表。接下来,我们手动格式化存储和建立分区表。
#分区: /dev/nvme0n1 是之前查出来的$ sudo fdisk /dev/nvme0n1
出现如下 命令行 。先用m,看看帮助信息
Command (m for help): mHelp: DOS (MBR) a toggle a bootable flag b edit nested BSD disklabel c toggle the dos compatibility flag Generic d delete a partition F list free unpartitioned space l list known partition types n add a new partition p print the partition table t change a partition type v verify the partition table i print information about a partition Misc m print this menu u change display/entry units x extra functionality (experts only) Script I load disk layout from sfdisk script file O dump disk layout to sfdisk script file Save & Exit w write table to disk and exit q quit without saving changes Create a new label g create a new empty GPT partition table G create a new empty SGI (IRIX) partition table o create a new empty DOS partition table s create a new empty Sun partition table我们是要建立GPT partition table,和进行格式化存储。
#使用g建立分区表Command (m for help): gCreated a new GPT disklabel (GUIhttps://www.gofarlic.com 8ED2D809-5D3A-DC45-8CFA-A4DA8124D705).The old ext4 signature will be removed by a write command.Command (m for help): 使用N命令新增一个分区,除了分区写1,其它都是默认即可
Command (m for help): nPartition number (1-128, default 1): 1First sector (2048-500118158, default 2048): Last sector, +sectors or +size{K,M,G,T,P} (2048-500118158, default 500118158): Created a new partition 1 of type 'Linux filesystem' and of size 238.5 GiB.使用W命令进行保存
Command (m for help): wThe partition table has been altered.Syncing disks.保存之后就会主动退出,这个时候我们再查看一次存储。
$ sudo fdisk -l
这样的分布说明我们完成了分区的建立。然后我们格式化这个分区
sudo mkfs -t ext4 /dev/nvme0n1p1一路默认回车即可。
nvidia@nvidia-desktop:~$ sudo mkfs -t ext4 /dev/nvme0n1p1mke2fs 1.44.1 (24-Mar-2018)Discarding device blocks: done Creating filesystem with 62514513 4k blocks and 15630336 inodesFilesystem UUIhttps://www.gofarlic.com 87471bb3-2a48-4cb7-80bc-40b3bede09c6Superblock backups stored on blocks: 32768, 98304, 163840, 229376, 294912, 819200, 884736, 1605632, 2654208, 4096000, 7962624, 11239424, 20480000, 23887872Allocating group tables: done Writing inode tables: done Creating journal (262144 blocks): doneWriting superblocks and filesystem accounting information: donenvidia@nvidia-desktop:~$ 这个时候你在你的命令行查看存储分布还看不到存储,是因为没有挂载。
nvidia@nvidia-desktop:~$ df -hlFilesystem Size Used Avail Use% Mounted on/dev/mmcblk0p1 14G 13G 37M 100% /none 3.5G 0 3.5G 0% /devtmpfs 3.8G 40K 3.8G 1% /dev/shmtmpfs 3.8G 38M 3.8G 1% /runtmpfs 5.0M 4.0K 5.0M 1% /run/locktmpfs 3.8G 0 3.8G 0% /sys/fs/cgrouptmpfs 777M 12K 777M 1% /run/user/120tmpfs 777M 132K 777M 1% /run/user/1000这个时候,你登录到桌面系统,在左侧菜单图标栏找到对应存储双击打开一下既可以看到了。
 至此我们就完成了存储的准备工作。
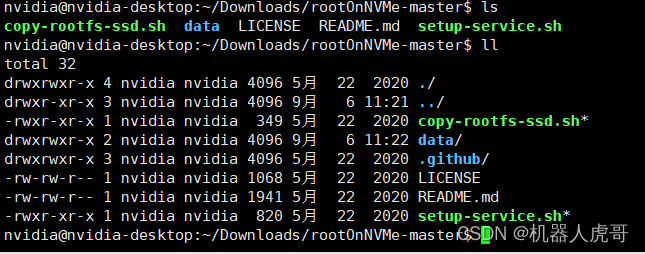
https://github.com/jetsonhacks大佬工具集合访问地址。这个地址发现有很多工具,可以帮我们方便的实现迁移。
在终端中想办法执行。
git clone https://github.com/jetsonhacks/rootOnNVMe.gitcd rootOnNVMe./copy-rootfs-ssd.sh./setup-service.shsudo reboot
#执行拷贝脚本./copy-rootfs-ssd.sh
nvidia@nvidia-desktop:~/Downloads/rootOnNVMe-master$ ./setup-service.sh ==== AUTHENTICATING FOR org.freedesktop.systemd1.reload-daemon ===Authentication is required to reload the systemd state.Authenticating as: nvidia,,, (nvidia)Password: ==== AUTHENTICATION COMPLETE ===Created symlink /etc/systemd/system/default.target.wants/setssdroot.service → /etc/systemd/system/setssdroot.service.Service to set the rootfs to the SSD installed.Make sure that you have copied the rootfs to SSD.Reboot for changes to take effect.执行设置脚本后,重启系统看看。
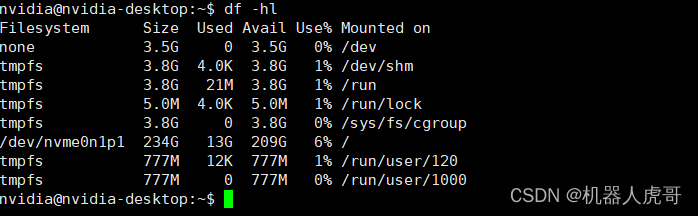
根目录已经成功的替换成了NVME,所以验证这个方法是可行的。
由于我们安装的是JetPack4.6.3的系统,所以迁移我们是可以参考之前TX1个TX2的方法来的。官方主板 Jeston TX1 TX2 ubuntu 18.04 迁移系统至固态SSD_jeston tx2_机器人虎哥的博客-CSDN博客这个是我们之前的方法。其步骤是。
手动将EMMC系统内容拷贝到NVME存储上。
1、查看存储位置
nvidia@nvidia-desktop:~$ df -hlFilesystem Size Used Avail Use% Mounted on/dev/mmcblk0p1 14G 13G 37M 100% /none 3.5G 0 3.5G 0% /devtmpfs 3.8G 40K 3.8G 1% /dev/shmtmpfs 3.8G 38M 3.8G 1% /runtmpfs 5.0M 4.0K 5.0M 1% /run/locktmpfs 3.8G 0 3.8G 0% /sys/fs/cgrouptmpfs 777M 12K 777M 1% /run/user/120tmpfs 777M 128K 777M 1% /run/user/1000/dev/nvme0n1p1 234G 61M 222G 1% /media/nvidia/87471bb3-2a48-4cb7-80bc-40b3bede09c62、进入NVME存储
cd /media/nvidia/87471bb3-2a48-4cb7-80bc-40b3bede09c6/3、拷贝全部文件至NVME存储
sudo cp -ax / ./4、修改NVME存储上的系统启动文件
刚拷贝后,进入NVME系统的boot目录
#进入目录cd /media/nvidia/87471bb3-2a48-4cb7-80bc-40b3bede09c6/#进入boot目录cd /boot/extlinux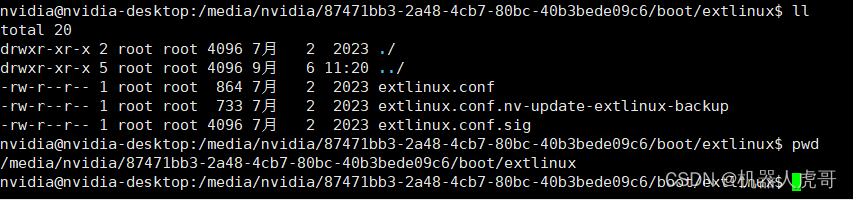
#备份和修改启动引导文件sudo cp extlinux.conf extlinux.conf_bak#修改extlinux.conf原始文件内容
TIMEOUT 30DEFAULT primaryMENU TITLE L4T boot optionsLABEL primary MENU LABEL primary kernel LINUX /boot/Image INITRD /boot/initrd APPEND ${cbootargs} quiet root=/dev/mmcblk0p1 rw rootwait rootfstype=ext4 console=ttyTCU0,115200n8 console=tty0 fbcon=map:0 net.ifnames=0 nv-auto-config# When testing a custom kernel, it is recommended that you create a backup of# the original kernel and add a new entry to this file so that the device can# fallback to the original kernel. To do this:## 1, Make a backup of the original kernel# sudo cp /boot/Image /boot/Image.backup## 2, Copy your custom kernel into /boot/Image## 3, Uncomment below menu setting lines for the original kernel## 4, Reboot# LABEL backup# MENU LABEL backup kernel# LINUX /boot/Image.backup# INITRD /boot/initrd# APPEND ${cbootargs}修改后的内容:
TIMEOUT 30DEFAULT nvmessdMENU TITLE L4T boot optionsLABEL nvmessd MENU LABEL primary kernel LINUX /boot/Image INITRD /boot/initrd APPEND ${cbootargs} quiet root=/dev/nvme0n1p1 rw rootwait rootfstype=ext4 console=ttyTCU0,115200n8 console=tty0 fbcon=map:0 net.ifnames=0 nv-auto-config LABEL emmc MENU LABEL internal Emmc LINUX /boot/Image INITRD /boot/initrd APPEND ${cbootargs} quiet root=/dev/mmcblk0p1 rw rootwait rootfstype=ext4 console=ttyTCU0,115200n8 console=tty0 fbcon=map:0 net.ifnames=0 nv-auto-config
4、手动烧写系统至NVME启动
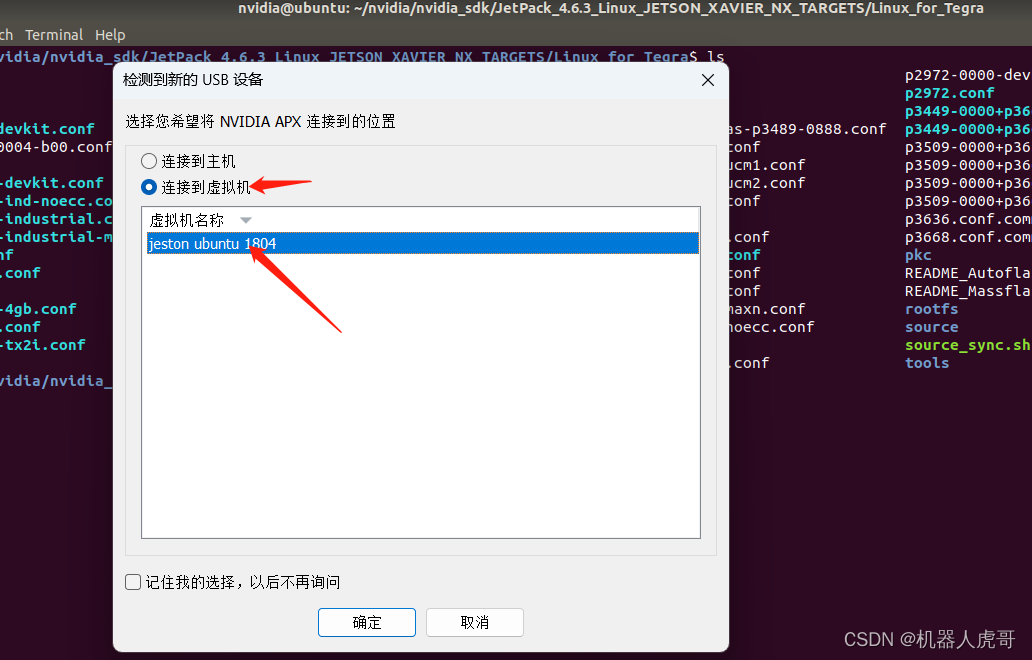
打开虚拟机上的终端。
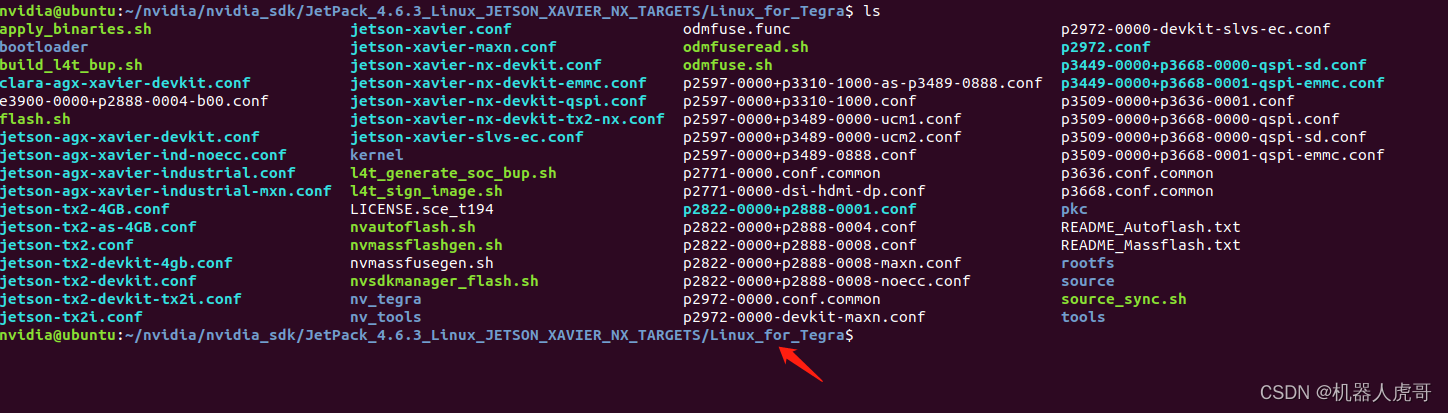
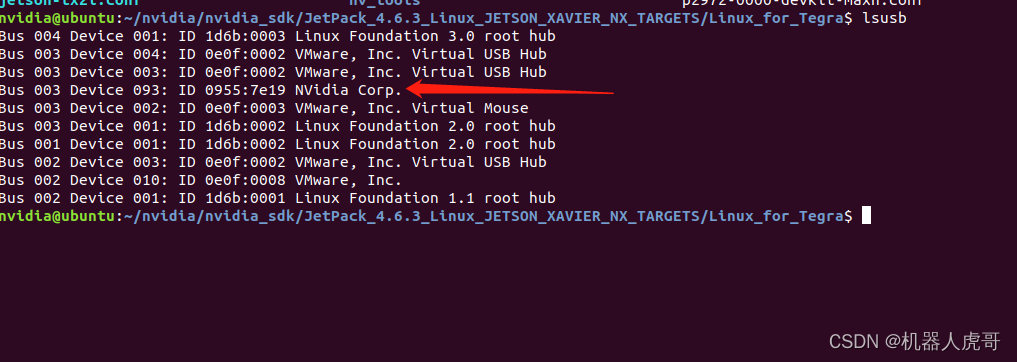
手动控制模块进入recovery模式
 开始烧写EMMC启动系统
#更新DTB和内核文件,设置NVME启动sudo ./flash.sh -r -d kernel/dtb/tegra194-p3668-all-p3509-0000.dtb -K kernel/Image jetson-xavier-nx-devkit-emmc nvme0n1p1#内核文件,设置NVME启动sudo ./flash.sh -r -K kernel/Image jetson-xavier-nx-devkit-emmc nvme0n1p1#以下做为参考#重新生成系统,烧写至EMMCsudo ./flash.sh jetson-xavier-nx-devkit-emmc mmcblk0p1#使用以有的系统镜像,烧写至EMMCsudo ./flash.sh -r jetson-xavier-nx-devkit-emmc mmcblk0p1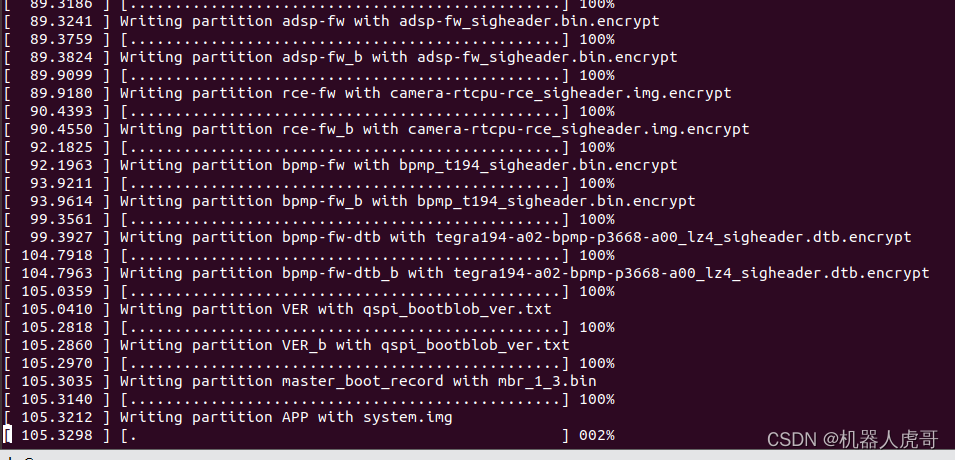
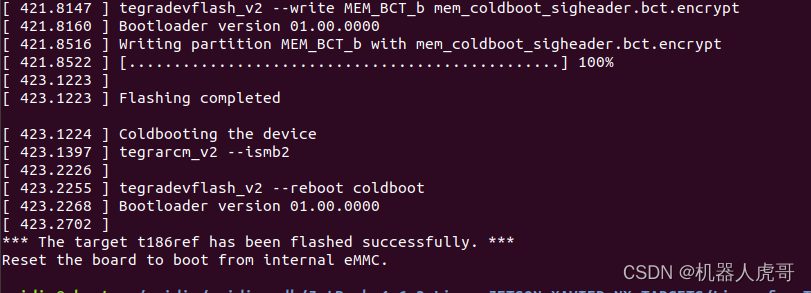
至此烧写完毕。系统重启后我们可以看到存储信息
nvidia@nvidia-desktop:~$ df -hlFilesystem Size Used Avail Use% Mounted on/dev/nvme0n1p1 234G 13G 209G 6% /none 3.5G 0 3.5G 0% /devtmpfs 3.8G 40K 3.8G 1% /dev/shmtmpfs 3.8G 22M 3.8G 1% /runtmpfs 5.0M 4.0K 5.0M 1% /run/locktmpfs 3.8G 0 3.8G 0% /sys/fs/cgrouptmpfs 777M 12K 777M 1% /run/user/120tmpfs 777M 120K 777M 1% /run/user/1000/dev/mmcblk0p1 14G 5.0G 8.1G 39% /media/nvidia/a0cb2694-3e4c-4a67-9e05-92f278444e97说明也成功了。
4.2中提供了一种方法和4.3中提供的方法,显然4.2的要简单自由很多,所以我个人也是很倾向使用4.2,这里大神们的开源精神,特别值得我们学习。4.3做为之前TX1和TX2上我自己常用的方法,在这里也可以使用,感觉纪念一下之后就要被淘汰了。不过我接下来会对两种方法设置的系统进行长期的使用对比,来最终决定使用哪种方法。希望你喜欢今天的分享。
免责声明:本文系网络转载或改编,未找到原创作者,版权归原作者所有。如涉及版权,请联系删
 技术文档
技术文档
 推荐好文
推荐好文


 155-2731-8020


