软件

产品


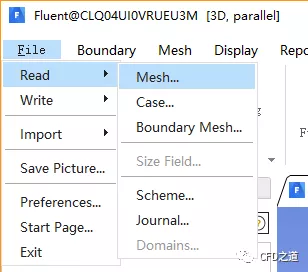
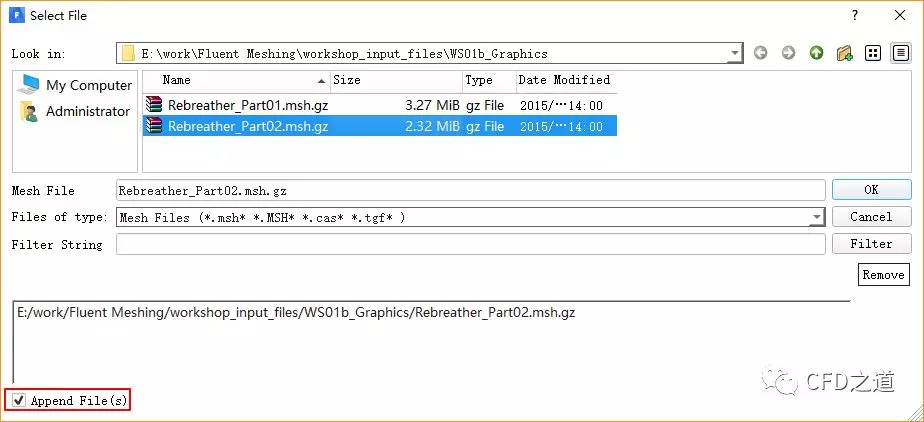
本案例演示利用Fluent Meshing读入网格并对网格进行操纵处理过程。
案例目的:
注:Meshing模式只能在3D模式下启用。
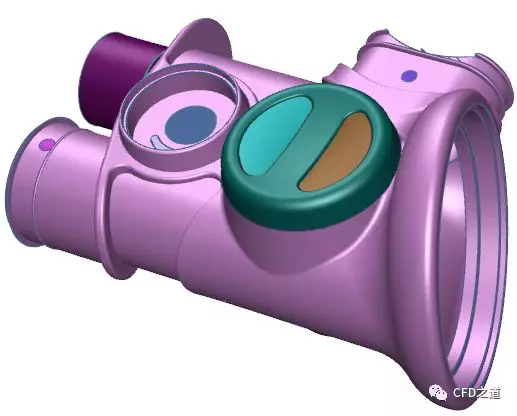
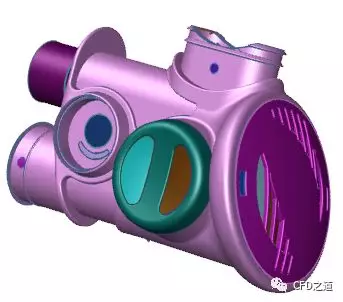
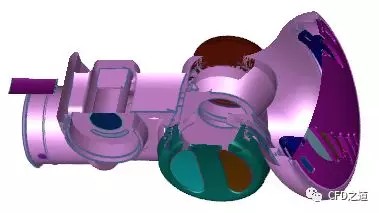
图形窗口中显示几何模型,如下图所示。
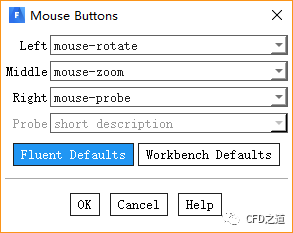
Fluent Meshing中提供了两种鼠标操作模式,默认的Fluent操作模式及Workbench模式。
默认情况下采用Fluent操作模式。
| 鼠标键 | Fluent模式 | Workbench模式 |
|---|---|---|
| 左键 | 图形旋转 | 图形移动 |
| 中键 | 图形缩放 | 图形旋转 |
| 右键 | 图形选择 | 图形缩放 |
Fluent Meshing可以在已有网格的基础上再添加新的网格文件。
模型如图所示。
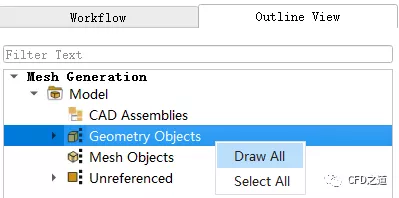
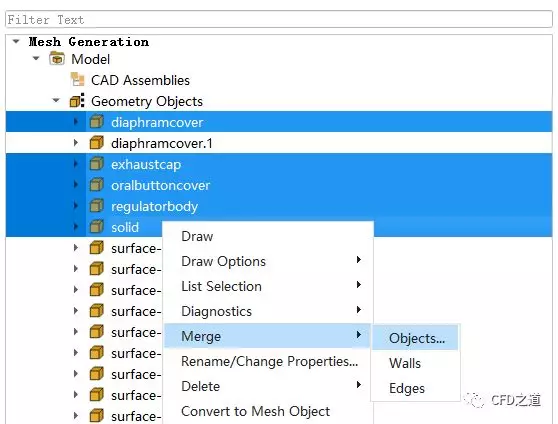
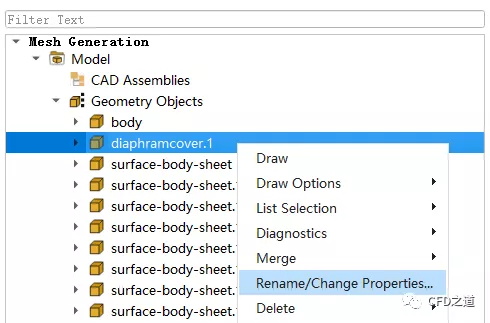
模型树节点主要通过右键菜单进行操作。
模型树的选择:
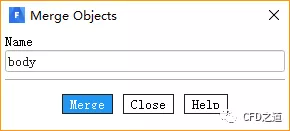
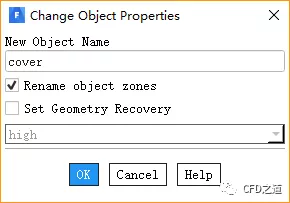
利用模型树节点右键菜单中的Merge可合并多个部件,利用Rename/Change Properties…可修改部件名称。
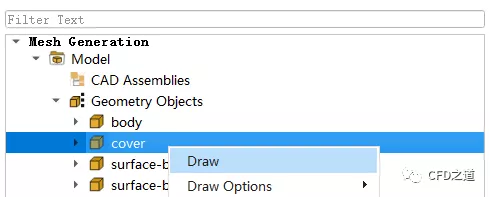
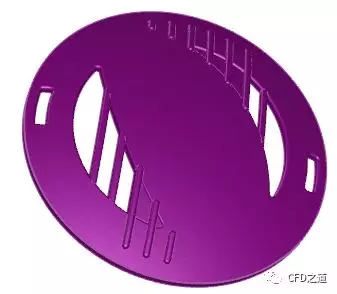
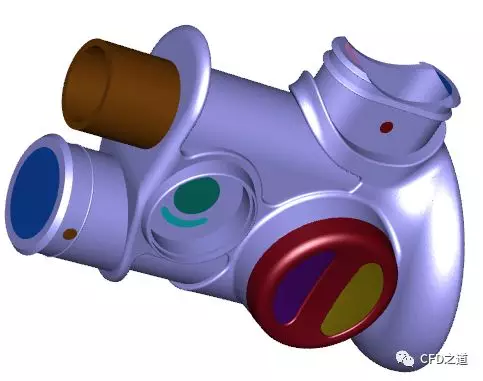
部件如下图所示。
利用Ribbon工具栏中Clipping Planes下工具可剖开几何体进行查看。
如下图为插入X切面后的几何显示。
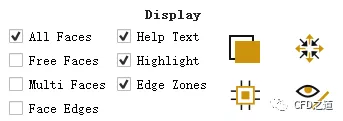
利用Ribbon工具栏中Display下工具可选择采用不同形式查看几何与网格。
All Faces:显示所有面
Free Faces:显示自由面
Multi Faces:显示多重面
Face Edges:显示边线
还可以根据需要选择透明显示、爆炸显示。
如下图所示采用透明显示。
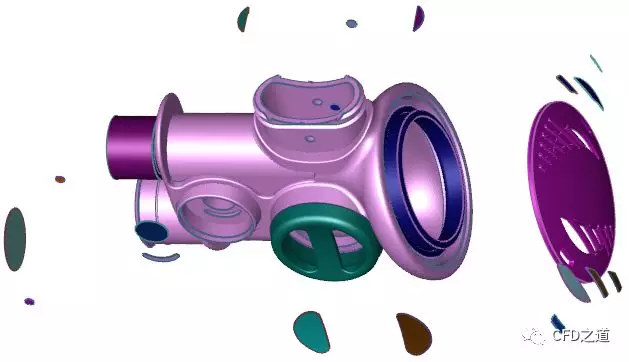
下图所示采用爆炸视图显示。
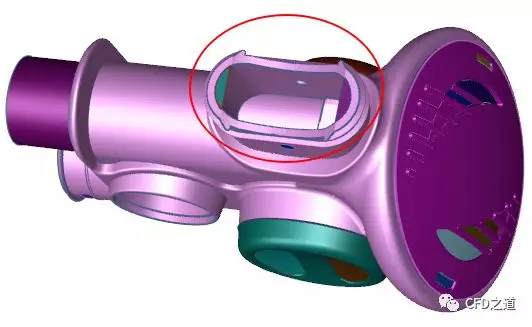
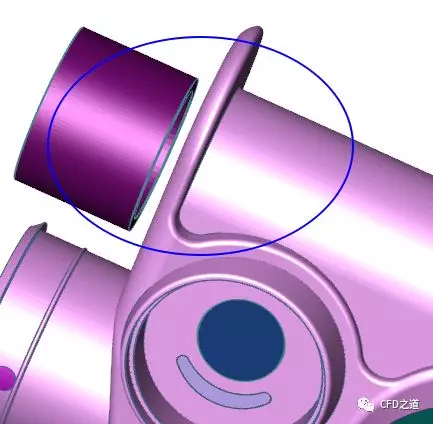
几何模型中存在孔洞,在创建流体计算域之前需要将孔洞堵上。如下图中框选位置的孔洞。
边界创建完毕后如下图所示。
可看出该区域已经完全被封闭了。
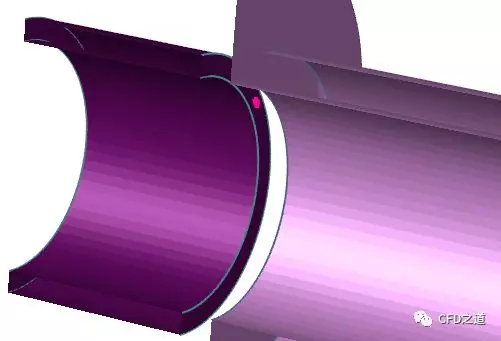
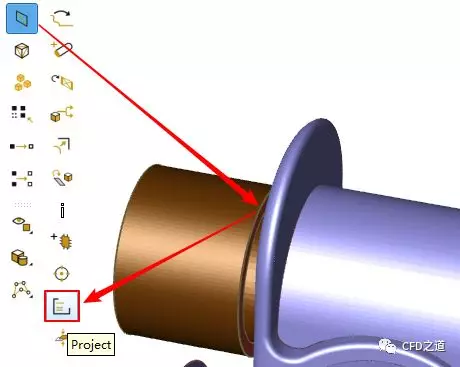
模型存在间隙,如下图所示。
此处可以利用Project的方式进行封闭。
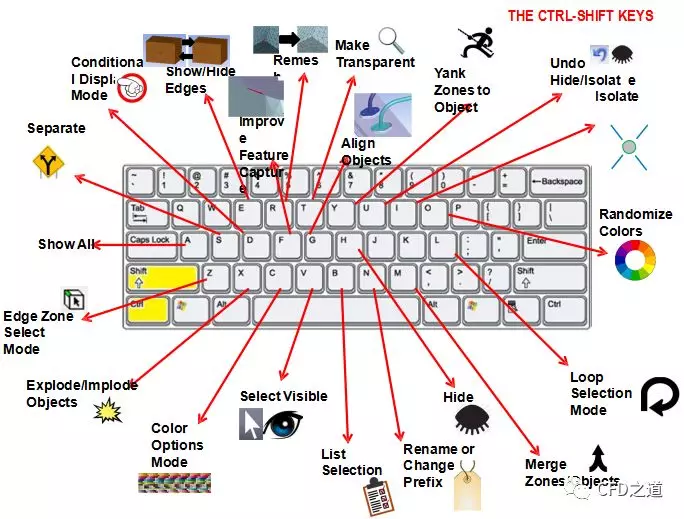
注:此时可用快捷键CTRL+SHIFT+O改变区域颜色以方便查看。也可以利用快捷键CTRL+SHIFT+C以及CTRL+R以随机 颜色显示模型。
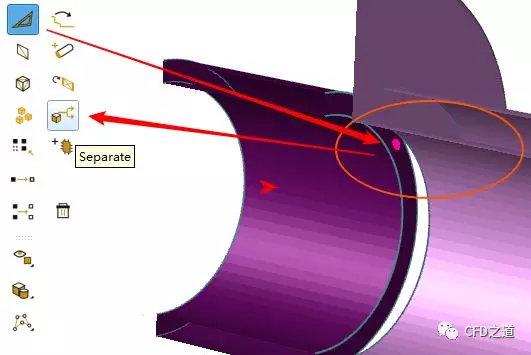
最终形成的模型如下图所示。
可以看出模型缝隙已经被封闭。
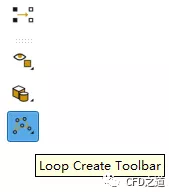
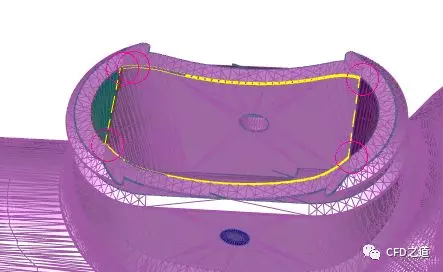
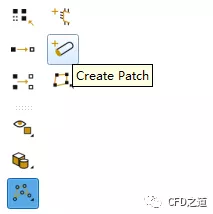
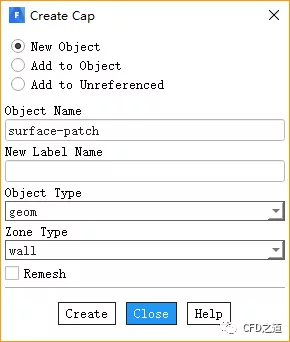
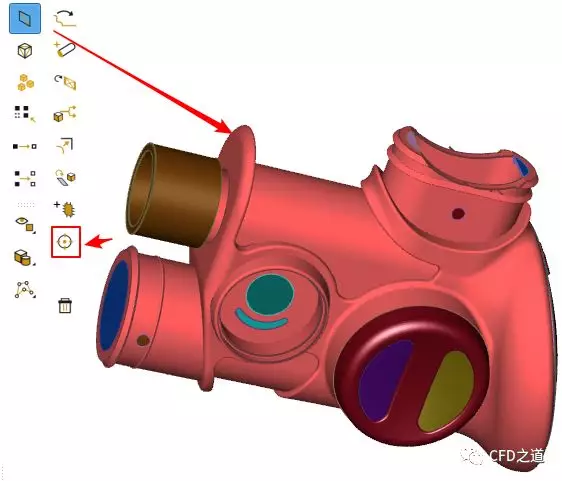
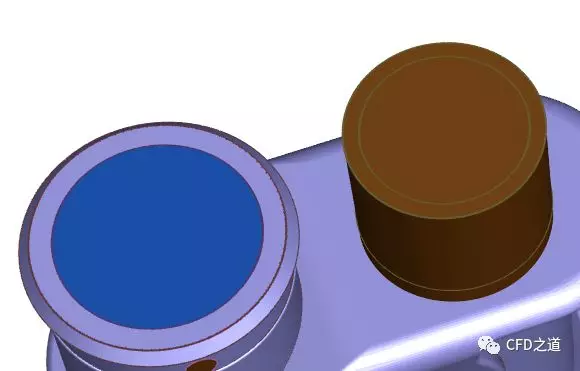
模型存在流体计算域的进出口边界,在创建流体域之前需要创建patch将其封闭。
可看出该出口已被封闭。
免责声明:本文系网络转载或改编,未找到原创作者,版权归原作者所有。如涉及版权,请联系删
武汉格发信息技术有限公司,格发许可优化管理系统可以帮你评估贵公司软件许可的真实需求,再低成本合规性管理软件许可,帮助贵司提高软件投资回报率,为软件采购、使用提供科学决策依据。支持的软件有: CAD,CAE,PDM,PLM,Catia,Ugnx, AutoCAD, Pro/E, Solidworks 等。
 技术文档
技术文档
 推荐好文
推荐好文


 155-2731-8020