产品
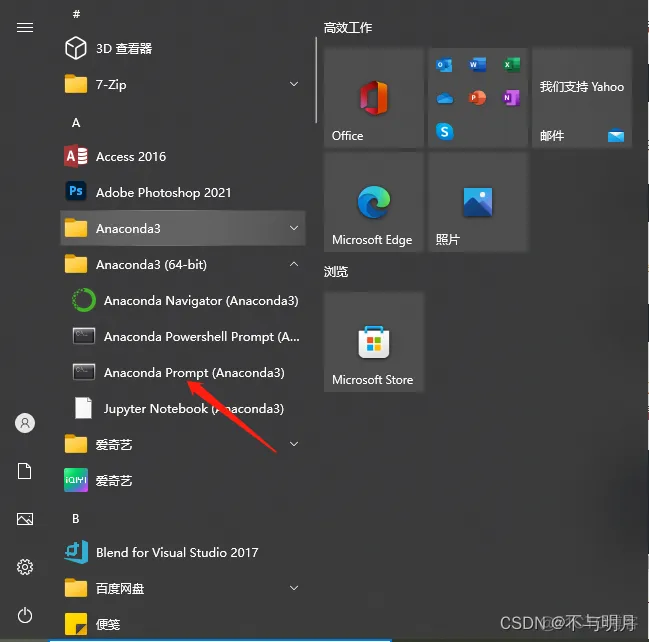
conda create --name test python=3.9
activate test
pip install tensorflow==1.13.2 -i https://pypi.tuna.tsinghua.edu.cn/simple
pip install tensorflow-gpu==1.13.2 -i https://pypi.tuna.tsinghua.edu.cn/simple
pip --default-timeout=1688 install torch==1.10.1+cu111 torchvision==0.11.2+cu111 torchaudio==0.10.1
-f https://download.pytorch.org/whl/torch_stable.html
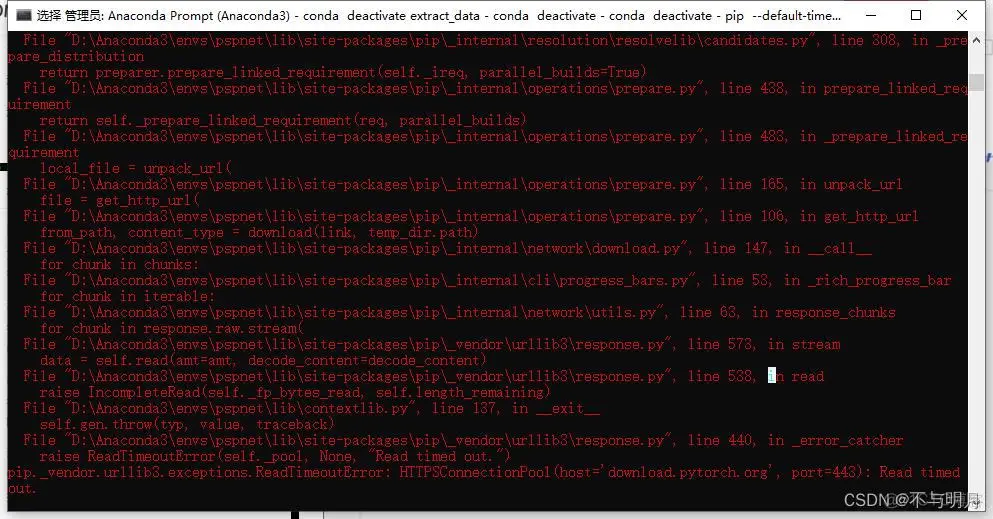
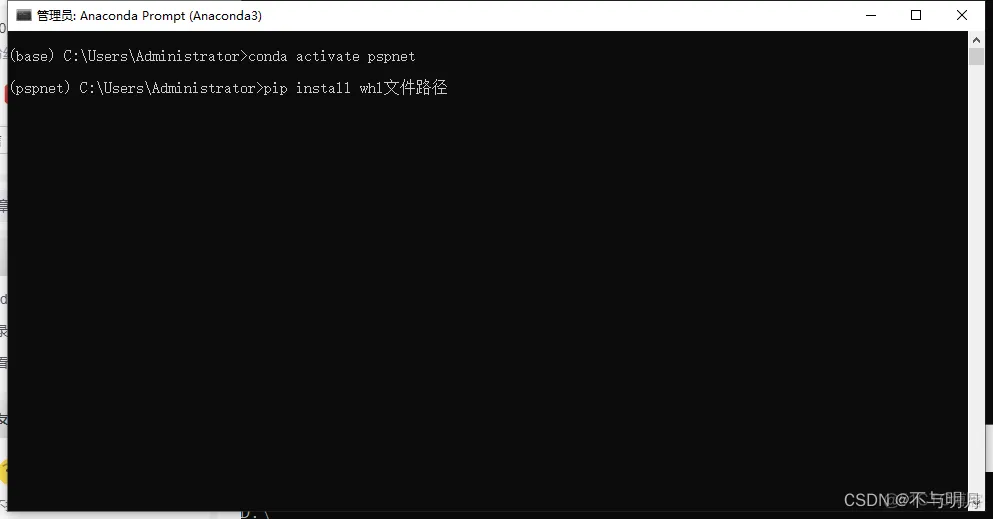
tensorflow在安装时可以指定版本,2.0和1.0版本区别很大,但是安装方法一样,torch的安装官网点击此处 Previous PyTorch Versions | PyTorch,需要根据自己的电脑的配置选择相应的版本,在安装时,在pip后加入--default-timeout=1688,可以防止由于连接超时导致的下载失败,如下!正确的打开方式如上面第三个所示。
清华源
conda config --add channels https://mirrors.tuna.tsinghua.edu.cn/anaconda/cloud/pytorch/
conda config --add channels https://mirrors.tuna.tsinghua.edu.cn/anaconda/pkgs/free/
conda config --add channels https://mirrors.tuna.tsinghua.edu.cn/anaconda/pkgs/main/
conda config --set show_channel_urls yes
科大源:
conda config --add channels https://mirrors.ustc.edu.cn/anaconda/pkgs/main/
conda config --add channels https://mirrors.ustc.edu.cn/anaconda/pkgs/free/
conda config --add channels https://mirrors.ustc.edu.cn/anaconda/cloud/conda-forge/
conda config --add channels https://mirrors.ustc.edu.cn/anaconda/cloud/msys2/
conda config --add channels https://mirrors.ustc.edu.cn/anaconda/cloud/bioconda/
conda config --add channels https://mirrors.ustc.edu.cn/anaconda/cloud/menpo/
conda config --set show_channel_urls yes
cuda实现,可在此网站下载想要的cuda版本以及对应的cudnn版本。
需要注意的是,一定注意!!!cuda安装是默认安装路径,一般为
C:\Program Files\NVIDIA GPU Computing Toolkit\CUDA
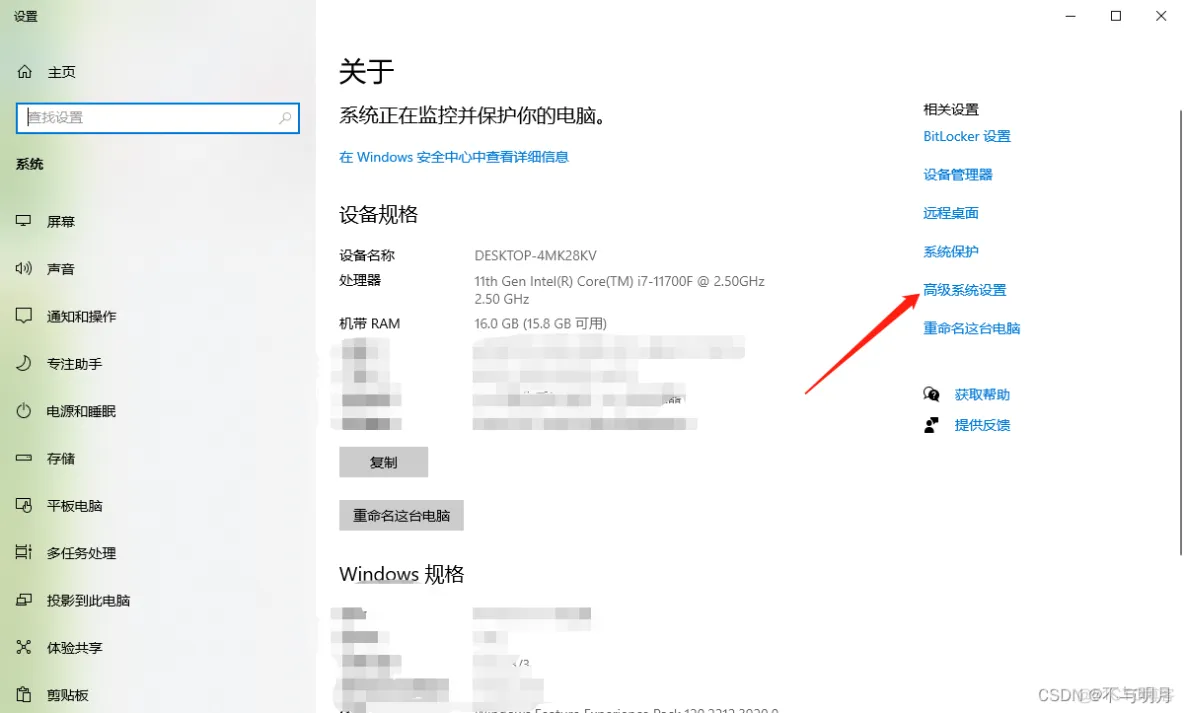
安装结束后,右击我的电脑,打开属性,如下图所示,点击高级系统设置
环境变量:

系统环境路径:
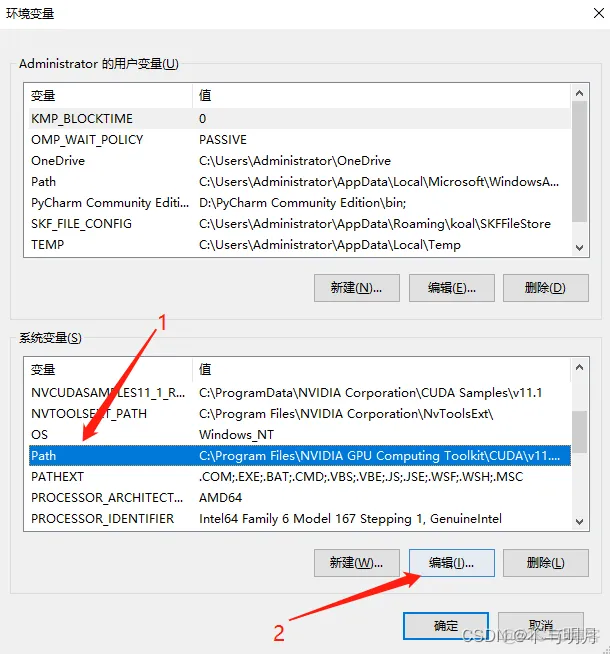
环境路径下,如果没有,请点击新建进行添加:
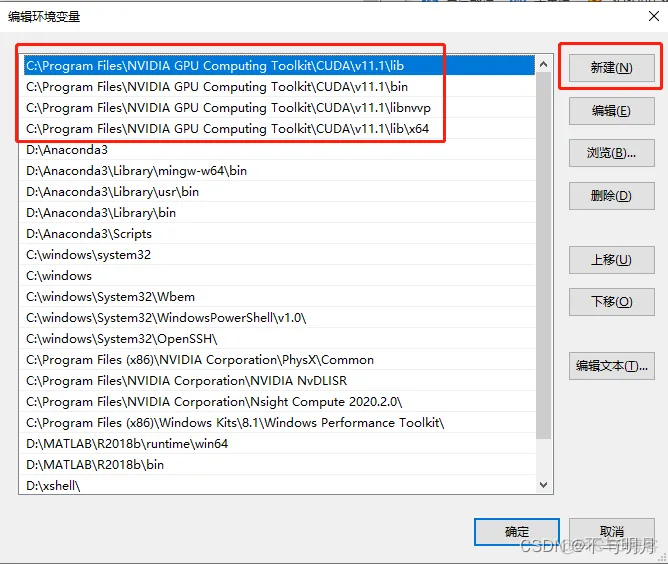
将下载好的cudnn压缩文件进行解压,并将所有文件复制粘贴至以下文件夹下,最后的v11.1代表的是cuda的版本,下载版本不一样,显示不一样,不用在意,至此gpu环境变量配置完毕。
C:\Program Files\NVIDIA GPU Computing Toolkit\CUDA\v11.1

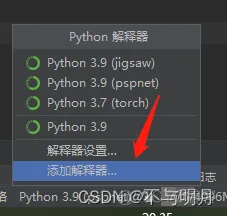
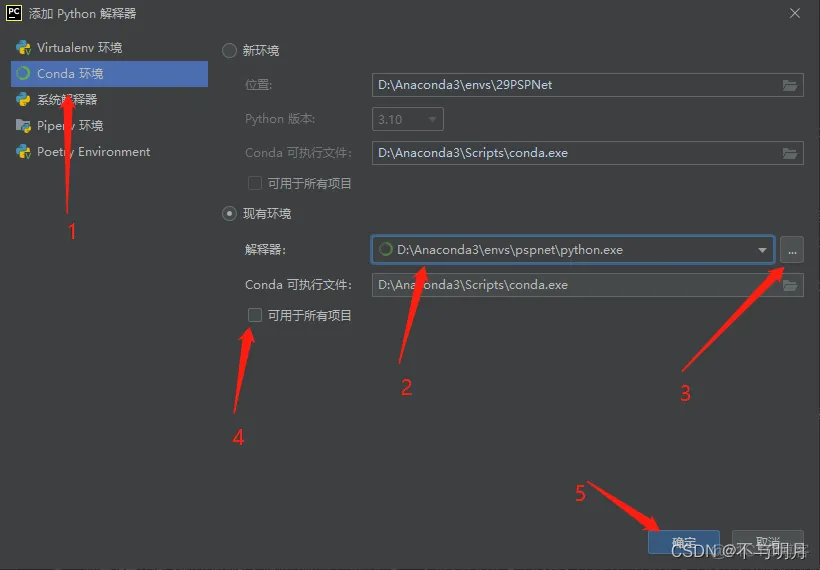
pip install keras
pip install numpy
pip install pillow
pip install pyyaml
pip install labelme
pip install scikit-image
pip install keras
pip install opencv-python
conda install -c conda-forge netcdf4
针对安装包超时问题,可在pip后加--default-timeout=1688解决:
pip --default-timeout=1688 install package-name
AttributeError: 'str' object has no attribute 'decode'
面对这种情况,我们需要h5py模块进行降级处理即可:
pip install h5py==2.10 -i https://pypi.tuna.tsinghua.edu.cn/simple/
至此,环境准备工作已经完成!
免责声明:本文系网络转载或改编,未找到原创作者,版权归原作者所有。如涉及版权,请联系删