


软件

产品


上一篇文章已经介绍了fluent-mybatis项目的构建,文章地址:Java Fluent Mybatis实战之构建项目与代码生成篇上
这篇文章继续之前的项目,对代码进行基本调试。验证代码操作数据库情况。
按照官方给的代码依赖是不够的,这里需要对maven的pom文件进行补充。
|
1
2
3
4
5
6
7
8
9
10
11
|
<dependency>
<groupId>org.mybatis.spring.boot</groupId>
<artifactId>mybatis-spring-boot-starter</artifactId>
<version>2.2.0</version>
</dependency>
<dependency>
<groupId>mysql</groupId>
<artifactId>mysql-connector-java</artifactId>
<scope>runtime</scope>
</dependency>
|
这里我们还是使用mysql作为测试数据库,fm(fluent mybatis的简称)可以支持很多种数据库,暂时我们不考虑其他的数据库。
在application.properties文件中添加mysql数据库配置,至于druid连接池的使用后面的篇章用到再说。也可以用application.yml,这个随意。
|
1
2
3
4
|
spring.datasource.username=root
spring.datasource.password=123456
spring.datasource.url=jdbc:mysql://192.168.0.108:3306/test?useSSL=false&useUnicode=true&characterEncoding=utf-8
spring.datasource.driver-class-name=com.mysql.jdbc.Driver
|
再测试包中加入测试代码,主要是做一个简单的插入数据测试。
代码如下:
|
1
2
3
4
5
6
7
8
9
10
11
12
13
14
15
16
17
18
19
20
21
22
23
24
25
26
|
package com.hy.fmp.test;
import com.hy.fmp.Application;
import com.hy.fmp.fluent.entity.TestFluentMybatisEntity;
import com.hy.fmp.fluent.mapper.TestFluentMybatisMapper;
import org.junit.jupiter.api.Test;
import org.springframework.beans.factory.annotation.Autowired;
import org.springframework.boot.test.context.SpringBootTest;
import java.util.Date;
@SpringBootTest(classes = Application.class)
public class InsertTest {
@Autowired TestFluentMybatisMapper testFluentMybatisMapper;
@Test
public void testInsertDefaultValue() {
// 插入数据
testFluentMybatisMapper.insert(
new TestFluentMybatisEntity()
.setAge(18)
.setName("法外狂徒张三")
.setCreateTime(new Date())
.setDelFlag(0));
}
}
|
说明:
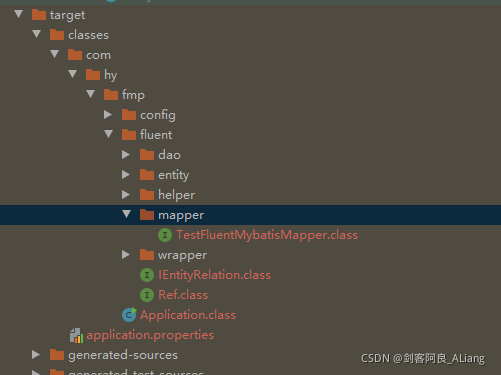
1、注意TestFluentMybatisMapper是target包内的mapper类。
2、表实体TestFluentMybatisEntity可以通过链式的代码写法。
|
1
2
3
|
@Accessors(
chain = true
)
|
扫描的mapper也是target包内的mapper目录
|
1
2
3
4
5
6
7
8
|
@SpringBootApplication
@MapperScan({"com.hy.fmp.fluent.mapper"})
public class Application {
public static void main(String[] args) {
SpringApplication.run(Application.class, args);
}
}
|
下面我们测试一下插入代码
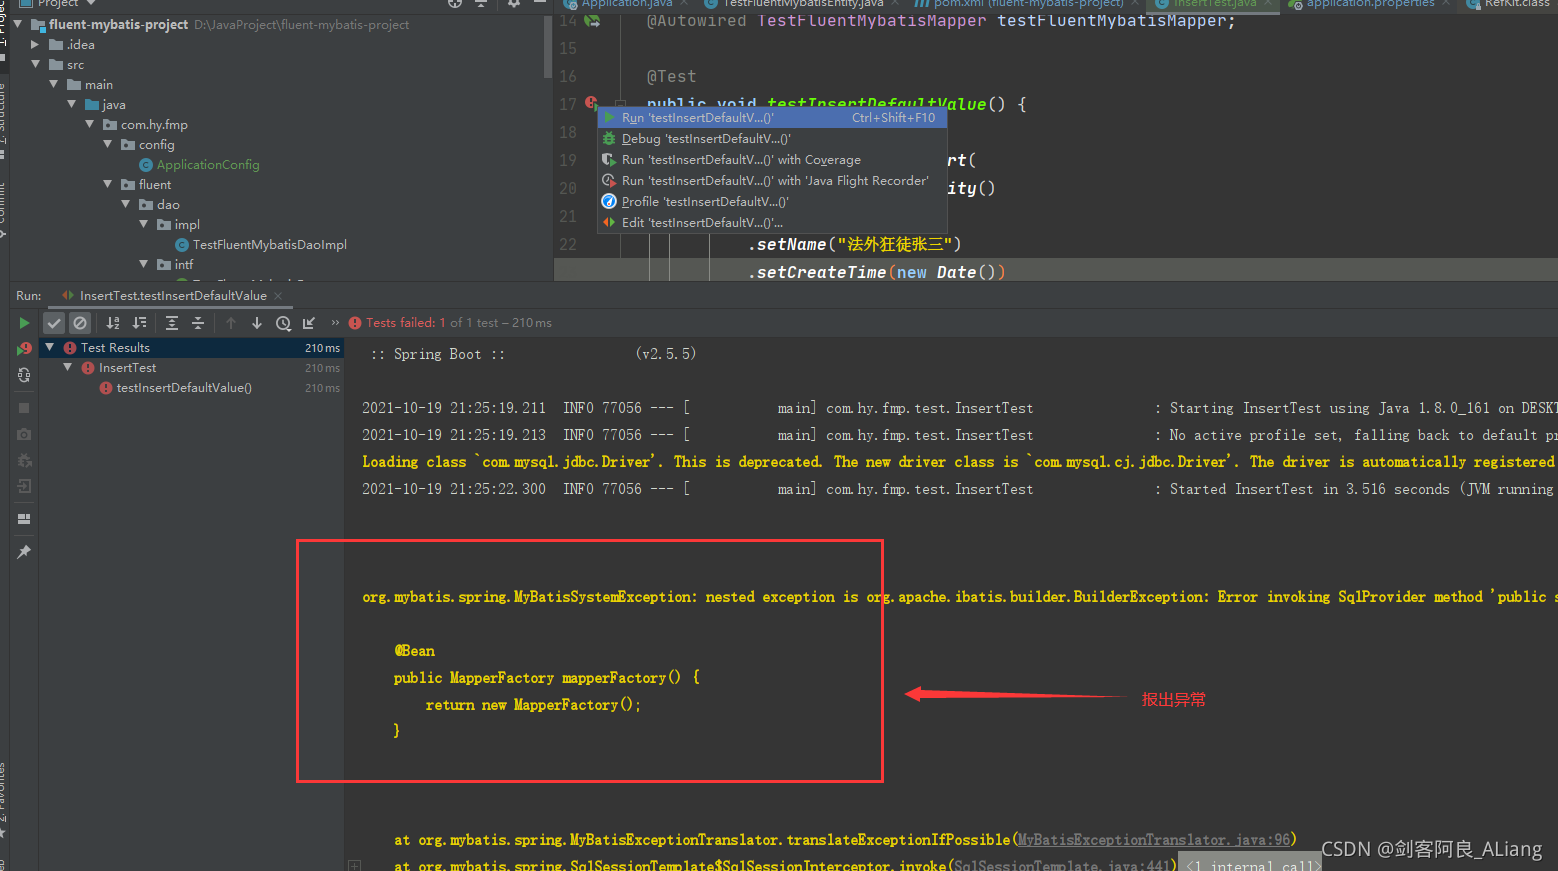
发现这里报了个异常,调整代码,增加配置类。
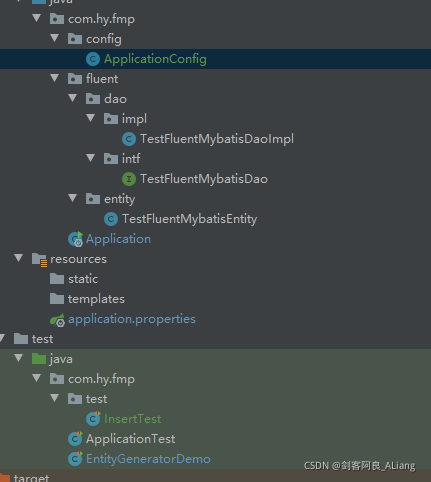
代码如下,增加MapperFactory注入。
|
1
2
3
4
5
6
7
8
9
10
11
12
13
14
15
16
17
18
19
20
21
22
23
24
25
26
27
28
29
30
31
32
33
34
35
36
37
38
39
40
41
|
package com.hy.fmp.config;
import cn.org.atool.fluent.mybatis.spring.MapperFactory;
import org.springframework.context.annotation.Bean;
import org.springframework.context.annotation.Configuration;
@Configuration
public class ApplicationConfig {
// @Bean("dataSource")
// public DruidDataSource newDataSource() {
// return DataSourceCreator.create("datasource");
// }
//
// @Bean
// public SqlSessionFactoryBean sqlSessionFactoryBean() throws Exception {
// SqlSessionFactoryBean bean = new SqlSessionFactoryBean();
// bean.setDataSource(newDataSource());
// ResourcePatternResolver resolver = new PathMatchingResourcePatternResolver();
// // 以下部分根据自己的实际情况配置
// // 如果有mybatis原生文件, 请在这里加载
// bean.setMapperLocations(resolver.getResources("classpath*:mapper/*.xml"));
// /* bean.setMapperLocations(
// /* new ClassPathResource("mapper/xml1.xml"),
// /* new ClassPathResource("mapper/xml2.xml")
// /* );
// */
// org.apache.ibatis.session.Configuration configuration =
// new org.apache.ibatis.session.Configuration();
// configuration.setLazyLoadingEnabled(true);
// configuration.setMapUnderscoreToCamelCase(true);
// bean.setConfiguration(configuration);
// return bean;
// }
// 定义fluent mybatis的MapperFactory
@Bean
public MapperFactory mapperFactory() {
return new MapperFactory();
}
}
|
重新执行一下看看效果。
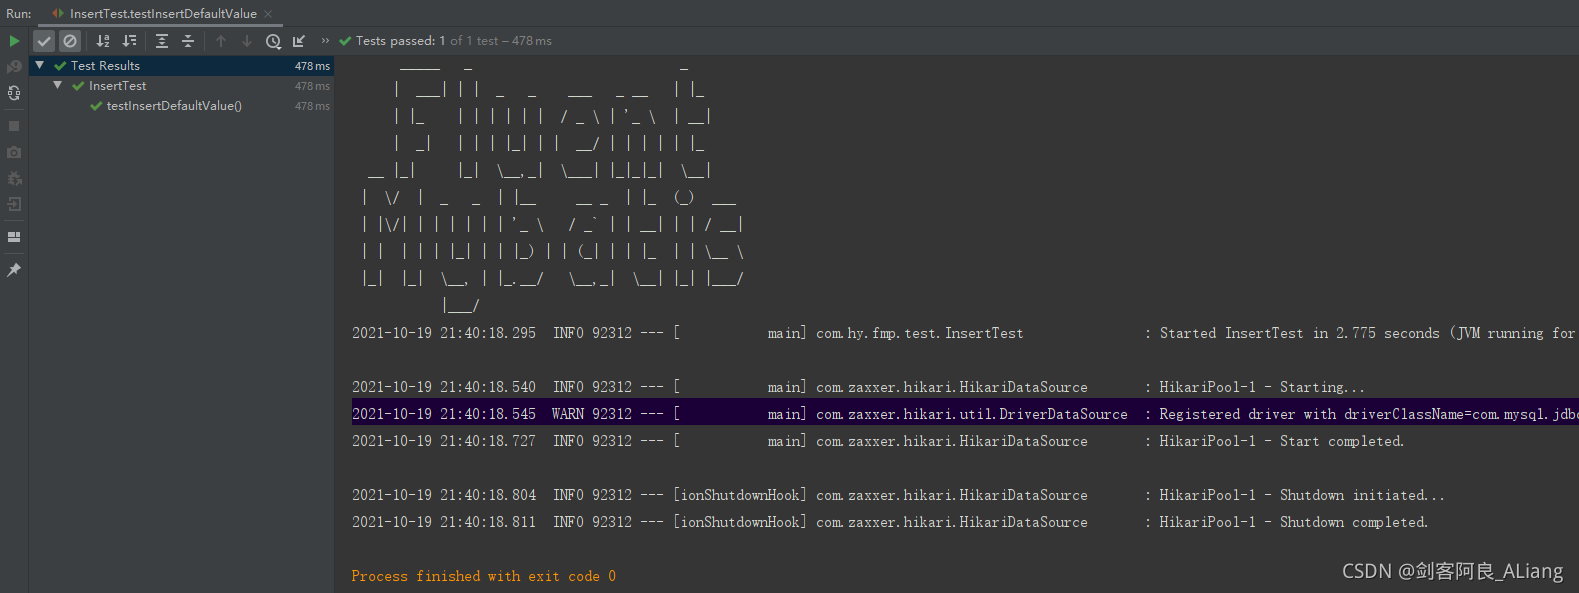
执行成功,看看表里的数据。ok,完美。

到这里fluent-mybatis组件的代码构建、项目搭建、以及简单代码测试已经完成。后面我会慢慢研究fm的增删改查等功能,继续工程化这个项目。
代码GitHub地址: GitHub仓库
如果本文对你有帮助,请点个赞支持一下吧。

到此这篇关于Java Fluent Mybatis实战之构建项目与代码生成篇下的文章就介绍到这了,更多相关Java Fluent Mybatis内容请搜索脚本之家以前的文章或继续浏览下面的相关文章希望大家以后多多支持脚本之家!
武汉格发信息技术有限公司,格发许可优化管理系统可以帮你评估贵公司软件许可的真实需求,再低成本合规性管理软件许可,帮助贵司提高软件投资回报率,为软件采购、使用提供科学决策依据。支持的软件有: CAD,CAE,PDM,PLM,Catia,Ugnx, AutoCAD, Pro/E, Solidworks 等。
 技术文档
技术文档
 推荐好文
推荐好文


 155-2731-8020


.png)

