产品
.png)
接着上一篇,上篇已经测试通过,成功添加了数据。那么这篇主要是继续上一个项目,将项目进行工程化包装,增加一些必要配置,并且生成增删改查接口。
GitHub代码仓库:GitHub仓库
增加了druid数据库连接池,所以之前的配置文件也需要调整,下面会发出来。
1 2 3 4 5 6 7 8 9 10 11 12 13 14 15 | <dependency> <groupId>cn.hutool</groupId> <artifactId>hutool-all</artifactId> <version>5.5.2</version></dependency> <dependency> <groupId>com.alibaba</groupId> <artifactId>druid-spring-boot-starter</artifactId> <version>1.2.3</version></dependency><dependency> <groupId>com.github.xiaoymin</groupId> <artifactId>knife4j-spring-boot-starter</artifactId> <version>3.0.2</version></dependency> |
原来的application.properties就不用了,换成yml,看得清楚一点。
1 2 3 4 5 6 7 8 9 10 11 12 13 14 15 16 17 18 19 20 21 22 23 24 25 26 27 28 29 30 31 32 33 34 35 36 37 | server: port: 8080spring: application: name: fluent datasource: druid: db-type: mysql driver-class-name: com.mysql.cj.jdbc.Driver url: jdbc:mysql://192.168.0.108:3306/test?useUnicode=true&characterEncoding=utf8&zeroDateTimeBehavior=convertToNull&useSSL=false&verifyServerCertificate=false&allowMultiQueries=true&serverTimezone=GMT%2b8 username: root password: 123456 # 使用druid数据源 # 下面为连接池的补充设置,应用到上面所有数据源中 # 初始化大小,最小,最大 initialSize: 10 minIdle: 10 maxActive: 200 # 配置获取连接等待超时的时间 maxWait: 6000 # 配置间隔多久才进行一次检测,检测需要关闭的空闲连接,单位是毫秒 timeBetweenEvictionRunsMillis: 60000 # 配置一个连接在池中最小生存的时间,单位是毫秒 minEvictableIdleTimeMillis: 100000 validationQuery: SELECT 1 FROM DUAL testWhileIdle: true testOnBorrow: false testOnReturn: false # 打开PSCache,并且指定每个连接上PSCache的大小 poolPreparedStatements: true maxPoolPreparedStatementPerConnectionSize: 20 # 配置监控统计拦截的filters,去掉后监控界面sql无法统计,'wall'用于防火墙 filters: stat,wall,slf4j # 通过connectProperties属性来打开mergeSql功能;慢SQL记录 connectionProperties: druid.stat.mergeSql=true;druid.stat.slowSqlMillis=5000 # 合并多个DruidDataSource的监控数据 #useGlobalDataSourceStat: true |
这部分配置主要是为了后面调试接口方便。
上代码
1 2 3 4 5 6 7 8 9 10 11 12 13 14 15 16 17 18 19 20 21 22 23 24 25 26 27 28 29 30 31 32 33 34 35 36 37 38 39 40 41 42 43 44 45 46 47 48 49 50 51 52 53 54 55 56 57 58 59 60 61 | import com.github.xiaoymin.knife4j.spring.annotations.EnableKnife4j;import com.hy.fmp.dto.Result;import org.springframework.beans.factory.annotation.Value;import org.springframework.boot.autoconfigure.web.ServerProperties;import org.springframework.context.annotation.Bean;import org.springframework.context.annotation.Configuration;import org.springframework.context.annotation.Import;import springfox.bean.validators.configuration.BeanValidatorPluginsConfiguration;import springfox.documentation.builders.ApiInfoBuilder;import springfox.documentation.builders.PathSelectors;import springfox.documentation.builders.RequestHandlerSelectors;import springfox.documentation.oas.annotations.EnableOpenApi;import springfox.documentation.service.ApiInfo;import springfox.documentation.service.Contact;import springfox.documentation.spi.DocumentationType;import springfox.documentation.spring.web.plugins.Docket;import springfox.documentation.swagger.web.UiConfiguration;import springfox.documentation.swagger.web.UiConfigurationBuilder; import java.util.HashMap; @EnableOpenApi@Configuration@EnableKnife4j@Import(BeanValidatorPluginsConfiguration.class)public class SwaggerConfig { @Value("${knife4j.enable:true}") private boolean enable; @Bean UiConfiguration uiConfig() { return UiConfigurationBuilder.builder().build(); } @Bean public Docket nlpRestApi(ServerProperties serverProperties) { return new Docket(DocumentationType.OAS_30) .enable(enable) .apiInfo(apiInfo("FluentMybatis测试服务接口")) .pathMapping(serverProperties.getServlet().getContextPath()) .groupName("FluentMybatis测试") .select() .apis(RequestHandlerSelectors.basePackage("com.hy.fmp.ctrl")) .paths(PathSelectors.any()) .build(); } private ApiInfo apiInfo(String title) { return new ApiInfoBuilder() // 标题 .title(title) // 描述 .description("所有的接口响应在现有接口定义外包装了一层标准结构:" + Result.ok(new HashMap<>(1))) // 作者信息 .contact(new Contact("剑客阿良ALiang", "", "3614322595@qq.com")) // 版本号 .version("1.0.0") .build(); }} |
增加control层接口返回实体以及错误码枚举类。
结果实体
1 2 3 4 5 6 7 8 9 10 11 12 13 14 15 16 17 18 19 20 21 22 23 24 25 26 27 28 29 30 31 32 33 34 35 36 37 38 39 40 41 42 43 44 45 46 47 48 49 50 51 52 53 54 55 56 57 58 59 60 61 62 63 64 65 66 67 68 69 70 71 | package com.hy.fmp.dto; import cn.hutool.json.JSONUtil;import lombok.AccessLevel;import lombok.Data;import lombok.NoArgsConstructor; @Data@NoArgsConstructor(access = AccessLevel.PRIVATE)public class Result<T> { private String code = "0"; private String message = "请求成功"; private boolean success = true; private T data; public Result(String code, String message, boolean success) { this.code = code; this.message = message; this.success = success; } public Result(String code, String message, boolean success, T data) { this.code = code; this.message = message; this.success = success; this.data = data; } public Result(T data) { this.data = data; } /** * 针对异常返回响应体 * * @param success 是否成功 * @param code 错误码 * @param message 错误信息 */ public Result(boolean success, String code, String message) { this.success = success; this.code = code; this.message = message; } public static <T> Result<T> ok(T obj) { return new Result<>(obj); } public static <T> Result<T> ok() { return new Result<>(); } public static <T> Result<T> error(String code, String message) { return new Result<>(code, message, false); } public static <T> Result<T> error(String code, String message, T data) { return new Result<>(code, message, false, data); } public Result<T> setMsg(String message) { this.message = message; return this; } @Override public String toString() { return JSONUtil.toJsonStr(this); }} |
错误码枚举
1 2 3 4 5 6 7 8 9 10 11 12 13 14 15 16 17 18 | package com.hy.fmp.enm; /** @Author huyi @Date 2021/10/20 17:19 @Description: 报错code */public enum ErrorCode { /** 错误code */ BASE_ERROR_CODE("10001"), ; private final String code; ErrorCode(String code) { this.code = code; } public String getCode() { return code; }} |
现在开始增加和修改表接口编写,一般来说,新增和修改的方法都定义为同一个。逻辑为如果传递数据主键,则为改,如果不传递,则为增。
定义接口
1 2 3 4 5 6 7 8 9 10 11 12 13 14 | package com.hy.fmp.service; import com.hy.fmp.fluent.entity.TestFluentMybatisEntity; /** @Author huyi @Date 2021/10/20 17:10 @Description: 基础操作接口 */public interface IBaseService { /** * 新增/修改接口 * * @param param 表实体 * @return 表实体 */ TestFluentMybatisEntity insertOrUpdate(TestFluentMybatisEntity param);} |
接口实现类
1 2 3 4 5 6 7 8 9 10 11 12 13 14 15 16 17 18 19 20 21 22 | package com.hy.fmp.service.Impl; import com.hy.fmp.fluent.dao.intf.TestFluentMybatisDao;import com.hy.fmp.fluent.entity.TestFluentMybatisEntity;import com.hy.fmp.service.IBaseService;import lombok.extern.slf4j.Slf4j;import org.springframework.beans.factory.annotation.Autowired;import org.springframework.stereotype.Service; /** @Author huyi @Date 2021/10/20 17:10 @Description: 基础操作接口实现 */@Slf4j@Servicepublic class BaseServiceImpl implements IBaseService { @Autowired private TestFluentMybatisDao testFluentMybatisDao; @Override public TestFluentMybatisEntity insertOrUpdate(TestFluentMybatisEntity param) { testFluentMybatisDao.saveOrUpdate(param); return param; }} |
编写control层
1 2 3 4 5 6 7 8 9 10 11 12 13 14 15 16 17 18 19 20 21 22 23 24 25 26 27 28 29 30 31 | package com.hy.fmp.ctrl; import com.hy.fmp.dto.Result;import com.hy.fmp.enm.ErrorCode;import com.hy.fmp.fluent.entity.TestFluentMybatisEntity;import com.hy.fmp.service.IBaseService;import io.swagger.annotations.Api;import io.swagger.annotations.ApiOperation;import lombok.extern.slf4j.Slf4j;import org.springframework.beans.factory.annotation.Autowired;import org.springframework.web.bind.annotation.*; /** @Author huyi @Date 2021/10/20 17:04 @Description: 基础操作 */@Slf4j@RestController@RequestMapping("/base")@Api(tags = "基础操作")public class BaseController { @Autowired private IBaseService baseService; @ApiOperation(value = "插入/更新数据", notes = "插入/更新数据") @RequestMapping(value = "/insertOrUpdate", method = RequestMethod.POST) @ResponseBody public Result<TestFluentMybatisEntity> insertOrUpdate(@RequestBody TestFluentMybatisEntity param) { try { return Result.ok(baseService.insertOrUpdate(param)); } catch (Exception exception) { return Result.error(ErrorCode.BASE_ERROR_CODE.getCode(), exception.getMessage(), null); } }} |
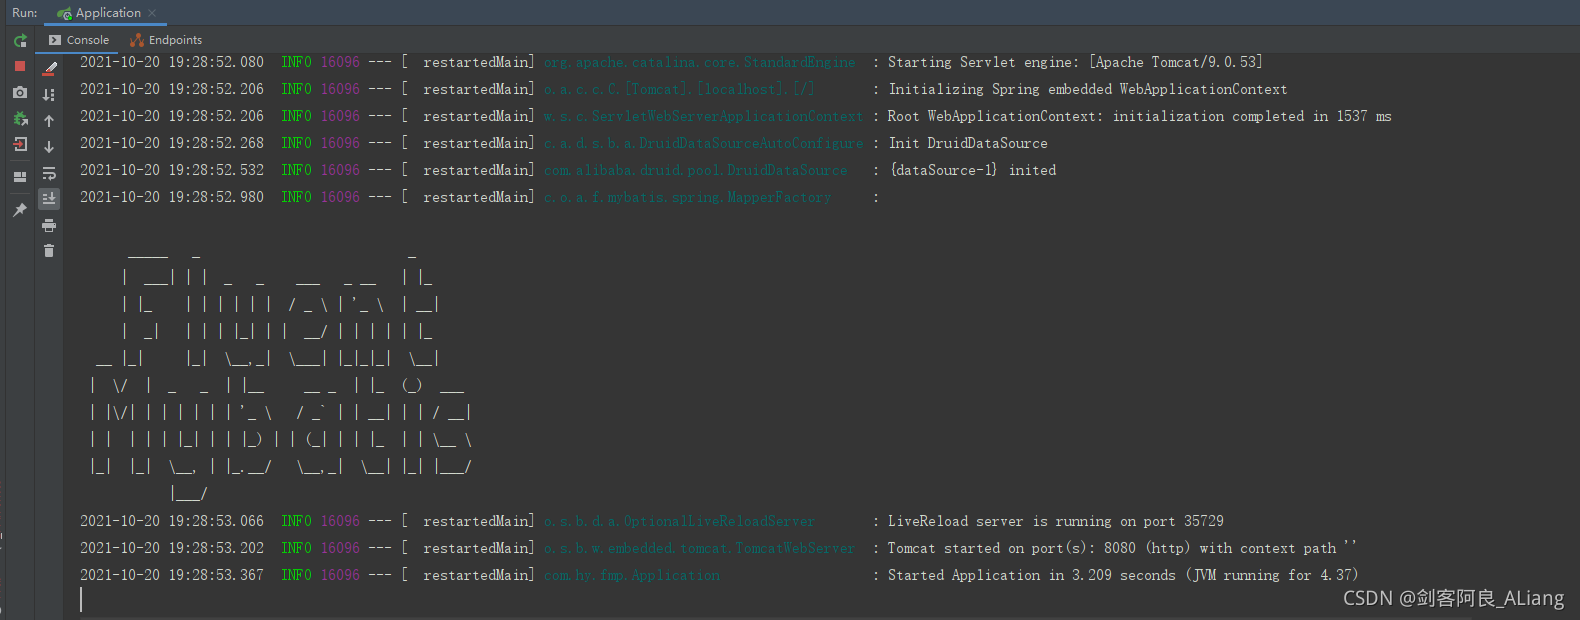
启动项目

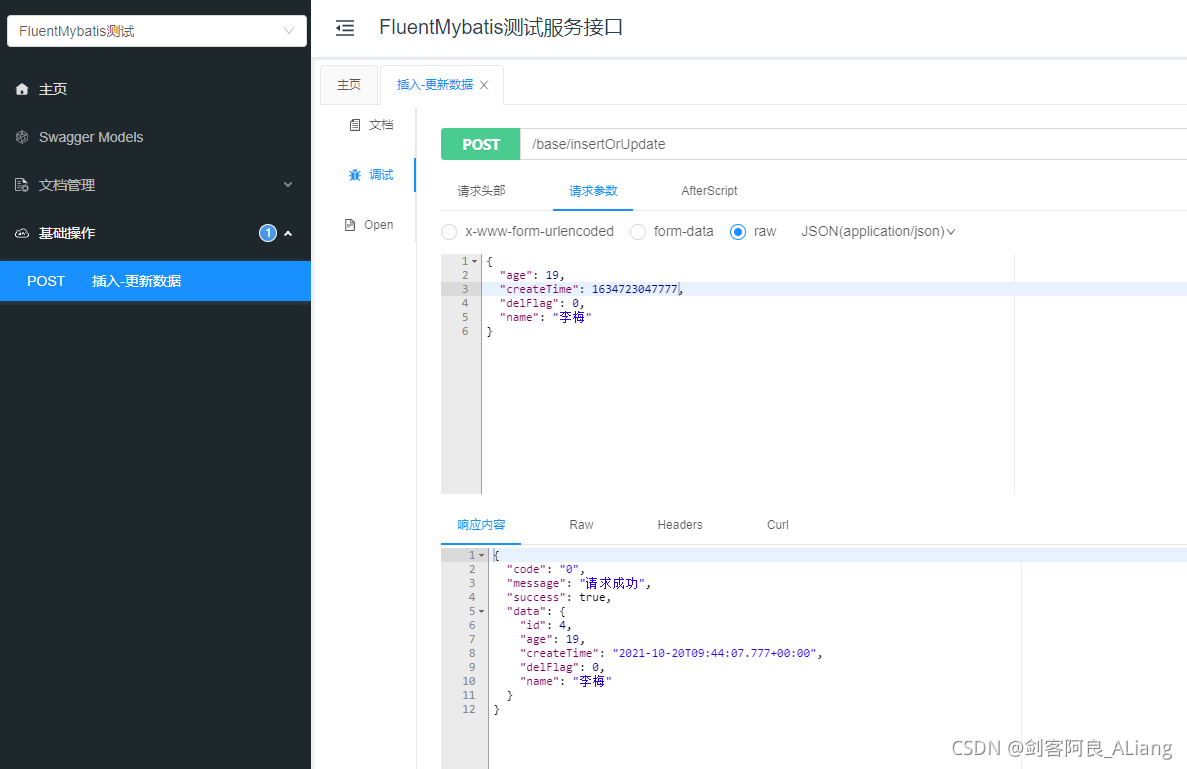
打开Knife4j页面:http://localhost:8080/doc.html#/home
点开我们刚刚写好的接口进行测试。


OK,插入成功。
修改数据


OK,修改成功。
下一篇继续,地址:Java Fluent Mybatis 项目工程化与常规操作详解流程篇 下
如果本文对你有帮助,请点个赞支持一下吧。

到此这篇关于Java Fluent Mybatis 项目工程化与常规操作详解流程篇 上的文章就介绍到这了,更多相关Java Fluent Mybatis内容请搜索脚本之家以前的文章或继续浏览下面的相关文章希望大家以后多多支持脚本之家!